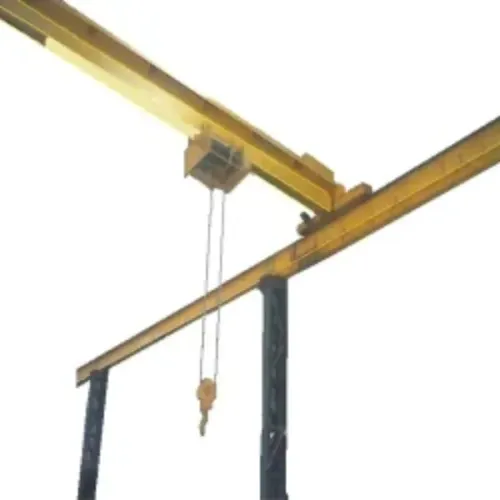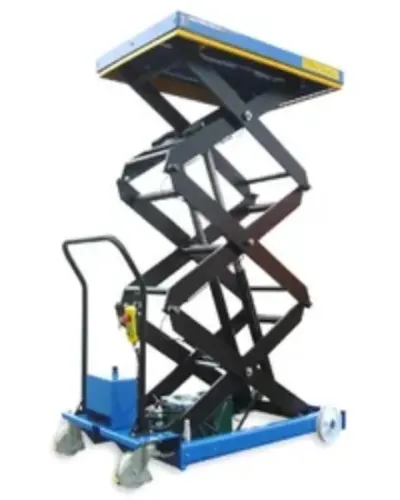
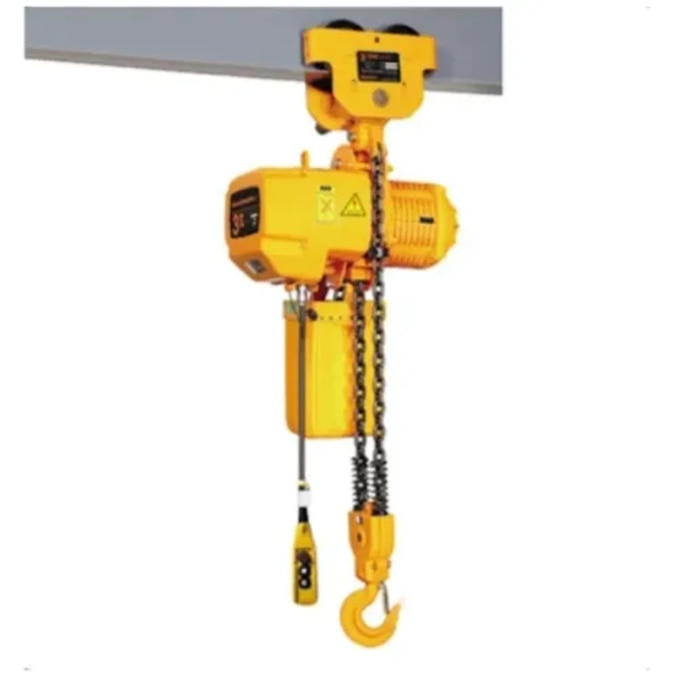
A hoist selected from payload alone can be overloaded by its hook block, slings, lifting beam or other suspended equipment before the product reaches the hook. By the end, you will have a practical method for calculating capacity, checking hook travel and headroom, choosing speed and reeving, and writing a specification that matches the working environment.
Key takeaways
- Add the payload, hook block and every below-the-hook accessory before sizing capacity.
- Check hook travel and headroom against the full lifting path, not just floor-to-floor height.
- Choose lifting speed from cycle time and positioning accuracy requirements.
- Specify reeving, rope and drum geometry together as one mechanical system.
Calculate the required capacity from the complete suspended load
Size the hoist for the complete suspended load: payload + hook block + slings + lifting beams + grabs, magnets, fixtures, and every other below-the-hook accessory. Add these weights before comparing wire rope hoist capacity. The heaviest planned combination controls the selection, even if it is lifted only occasionally.
Use this calculation:
- 4.0 tonnes payload
- 0.4 tonnes lifting attachment
- Total suspended load: 4.4 tonnes
- Select a hoist with rated capacity above 4.4 tonnes, such as 5 tonnes where that is the next suitable standard rating
Do not treat 4 tonnes as the required capacity. Rounding up preserves operating margin; it does not permit side pulling, dragging, shock loading, or lifting beyond the hoist rating.
| Term | Meaning | Selection consequence |
|---|---|---|
| Safe working load | Maximum permitted working load for the specified equipment or component | Keep the complete suspended load within the lowest applicable limit |
| Rated capacity | Load the hoist is designed to lift vertically in its stated service | Choose above the heaviest complete suspended load |
| Proof load value | Test load used to verify strength or function | Never use it as permission for routine lifting |
| Actual lifted load | Weight hanging from the hook during a lift | Include every attached item, not payload alone |
Normal operating weight does not control if a heavier approved load will use the hoist. Also confirm duty class: frequent lifts near rated capacity can require a higher machinery group.
Pendant or radio controls, two-speed motors, soft starts, and variable-frequency drives improve control, but they do not increase safe working load or compensate for an unsuitable hoist or runway.
Match hook travel, clearance and headroom to the lifting path
Specify the lifting path first: measure the upper hook position, lower hook position, and every obstruction between them. Required hook travel is the vertical distance between those two hook positions, not simply the building height or the distance from the floor.
Before comparing hoists, record:
- Floor-to-hook clearance at the lowest required position, including the load, sling arrangement, hook block, and any fixture below the hook.
- Available headroom above the highest required position, including the beam, trolley, drum, sheaves, motor, and electrical equipment.
- Beam width, runway dimensions, trolley envelope, and the hook block height at full retraction.
- Drum capacity and rope layers needed for the specified travel. Under OSHA’s overhead-and-gantry-crane rule, retain at least two wire-rope wraps on the drum when the hook reaches its extreme low position; dead wraps and multilayer winding reduce usable travel.
- Upper limit-switch location. Treat it as protection, not a normal stopping control; stop before the hook block contacts the drum and test the device under the crane procedure.
| Arrangement | Strength | Main check |
|---|---|---|
| Standard headroom | Suits clear overhead space | Confirm the upper hook position clears the beam |
| Low-headroom | Places the hook closer to the beam | Check trolley, drum and sheave geometry |
| Extended travel | Reaches a deeper lower hook position | Confirm drum capacity, rope layers and retained wraps |
If the required clearance and travel cannot coexist, choose a different hoist geometry or alter the runway elevation. A capacity-compliant hoist remains unusable if its headroom prevents the required lift.
Choose lifting speed and controls from cycle time and positioning needs
Calculate cycle time from the required lift distance, not from motor horsepower alone. A 6-metre lift at 6 metres per minute takes 60 seconds at full speed, before acceleration, deceleration and time spent positioning the load. Add those intervals, then compare the result with your production takt time.
| Option | Control behaviour | Best fit |
|---|---|---|
| Single-speed hoist | Runs at one fixed lifting speed; stopping can produce more load swing | Infrequent lifts between fixed, open positions |
| Two-speed hoist | Uses fast travel for most of the lift and slow travel near the target | Repeated handling with basic positioning control |
| Variable-frequency drive | Provides adjustable speed, controlled acceleration and deceleration | High cycle counts, fragile loads or precise placement |
A single-speed hoist suits a simple duty, but it wastes time when operators must inch the hook into position. A two-speed hoist improves that final approach without the cost or complexity of continuous speed control. Choose a variable-frequency drive when smooth starts, low-speed travel and repeatable stopping matter more than maximum full-speed output.
Match the brake to operating frequency and load behaviour. Frequent inching, rapid lowering and high cycle counts generate heat, so specify a holding brake with adequate thermal capacity and confirm whether regenerative or inverter braking is needed.
Pendant controls work well from a fixed station; radio controls give the operator a clear view of the hook and load. Neither control arrangement permits an overload or corrects an unsuitable duty class, rope system or runway.
Select reeving, rope and drum geometry as one mechanical system
A single-fall reeving arrangement gives the rope one supporting part at the hook, so the hoist needs line pull close to the suspended load and moves the hook at roughly the rope speed.
Multiple-fall reeving shares the load across several supporting rope parts: two falls roughly halve rope tension but require roughly twice the rope speed for the same hook speed. Sheave and rope-bending losses reduce the actual mechanical advantage.
Choose the rope, drum and sheaves together. A smaller D/d ratio, where D is the sheave or drum pitch diameter and d is the rope diameter, increases bending fatigue and shortens rope life. The minimum acceptable ratio depends on rope construction, grade, duty and the manufacturer’s specification; do not select it from rope diameter alone.
Check these points before accepting a reeving arrangement:
- Confirm that the motor and gearbox can deliver the required line pull at the selected lifting speed, including reeving losses.
- Check that the drum has enough rope capacity for full hook travel, with safe winding layers and the specified rope end attachment.
- Match drum diameter, sheave diameter and rope construction to the required D/d ratio.
- Check fleet angle between the drum and first sheave. Excessive angle causes poor spooling, crushing, cross-winding, flange contact and rapid wear.
- Verify drum width, rope guide, trolley travel, hook-block height, beam clearance and minimum headroom; extra falls can increase block dimensions even when they reduce line pull.
- Ask for the reeving drawing and confirm that rope speed, hook speed and available travel match your lifting cycle.
Turn the calculation into a service-specific purchase specification
A purchase specification is complete only when it describes the service, not just the maximum load. State lifting speed, starts per hour, operating hours per day, load spectrum, travel frequency and positioning accuracy; motor horsepower alone will not reveal thermal or starting limits.
| Specification | Confirm | Why it matters |
|---|---|---|
| ISO 4301-1 duty classification | Total operating time and load spectrum, including frequent near-capacity lifts | The same rated capacity can require different machinery groups |
| Brake thermal capacity | Inching, rapid lowering, stop frequency and load behavior | Static holding capacity does not prove the brake can dissipate service heat |
| Environment | Indoor or outdoor location, dust, humidity, corrosive vapour, ambient temperature and enclosure rating | Contamination and heat shorten electrical and mechanical life |
| Rope geometry | Permitted fleet angle, drum length, sheave arrangement and side-pull exclusion | Excessive fleet angle accelerates rope wear; side loading adds forces beyond vertical rating |
| Safety devices | Upper limit switch, lower limit, overload protection and emergency stop arrangement | The upper limit switch is protective, not a normal stopping control |
| Maintenance | Access to rope, hook, sheaves, drum, brake, anchorage, limit devices and structural connections | Difficult inspections turn low purchase cost into downtime and premature replacement |
Ask each supplier for duty calculations, brake ratings, rope-life assumptions, inspection intervals, spare-part access and test procedures. Specify that normal stopping occurs before hook-block contact with the drum, and that the upper limit switch is tested rather than repeatedly used.
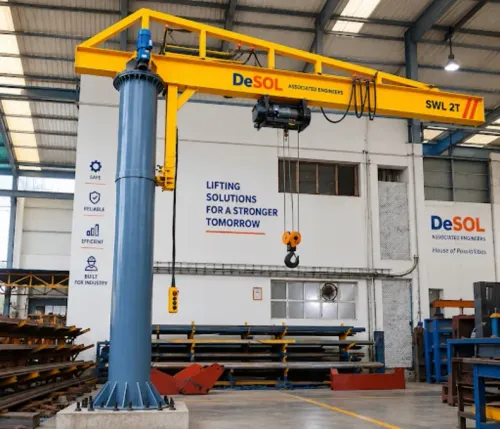
Desol Associated Engineers should receive these service details before proposing an EOT crane, so the comparison covers suitability rather than price alone.
Frequently asked questions
How do you calculate the required wire rope hoist capacity?
Add the payload, hook block, slings, lifting beams, grabs, magnets, fixtures and every other suspended accessory. Size the hoist for the heaviest planned combination.
How do hook travel, clearance and headroom affect hoist selection?
Compare the required lifting path with hook travel, overhead obstructions, minimum hook position and the hoist’s headroom dimension. Confirm that the hook reaches every required position without collision.
How should you choose wire rope hoist lifting speed and controls?
Select speed from the required cycle time, then choose controls that support the positioning accuracy, acceleration and stopping performance your loads require.
Why must reeving, rope and drum geometry be selected together?
The reeving arrangement determines rope force, hook speed and drum requirements. Match rope diameter, number of falls, drum pitch and drum length as one mechanical system.